How to Make a Origami Star Destroyer
Hey everybody! Thrawn here. As you may remember, I started a series of origami instructions a few months back. With the commencement of Galaxy Games, it seemed like the perfect time to continue the series. So today I bring you an Imperial Star Destroyer. This model os one of the simplest I have ever produced, so it should be simple enough for novices and experts alike. With that out of the way, let's begin.
I use Kami origami paper, where one side is colored and the other is white. I used the lilac color because the folds are more photogenic on lighter colors than the grey of ISDs. That, and I'm saving my Grey sheets for a model later in the GG. You can use any thin, square sheet of paper though. Like my previous two models, we have to start by folding a preliminary base.
Kami Paper
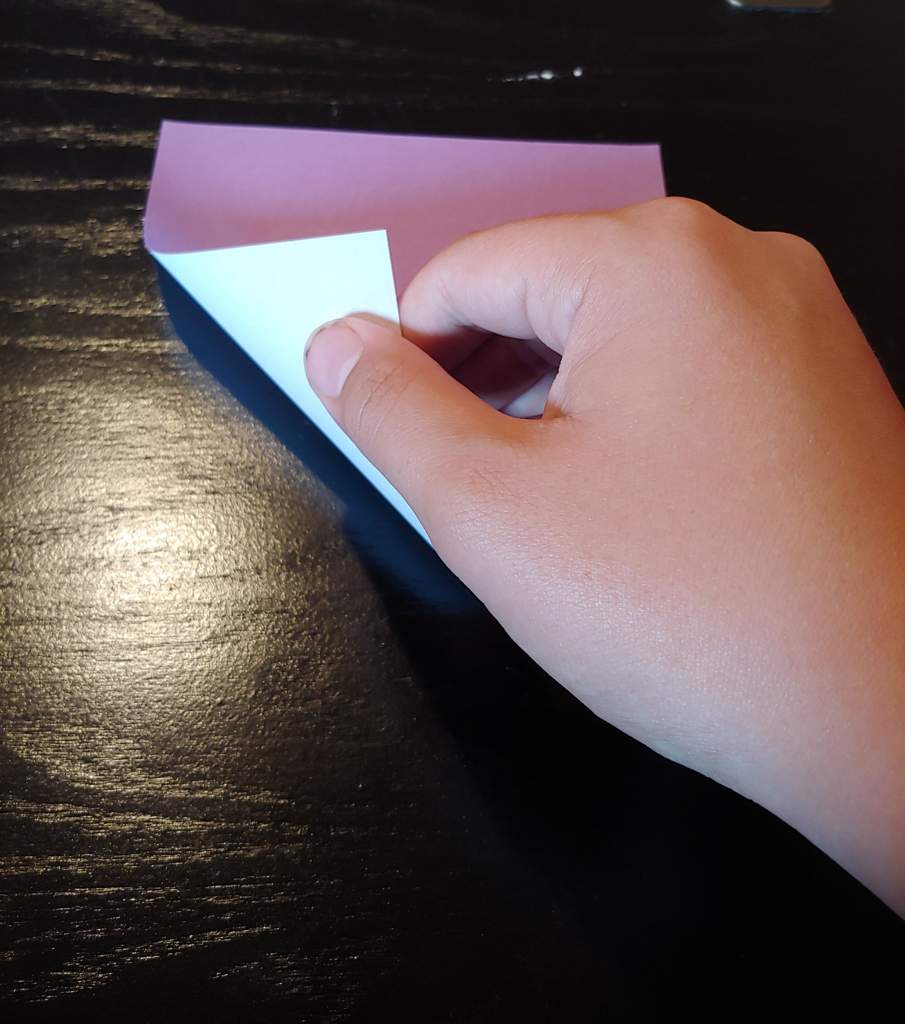
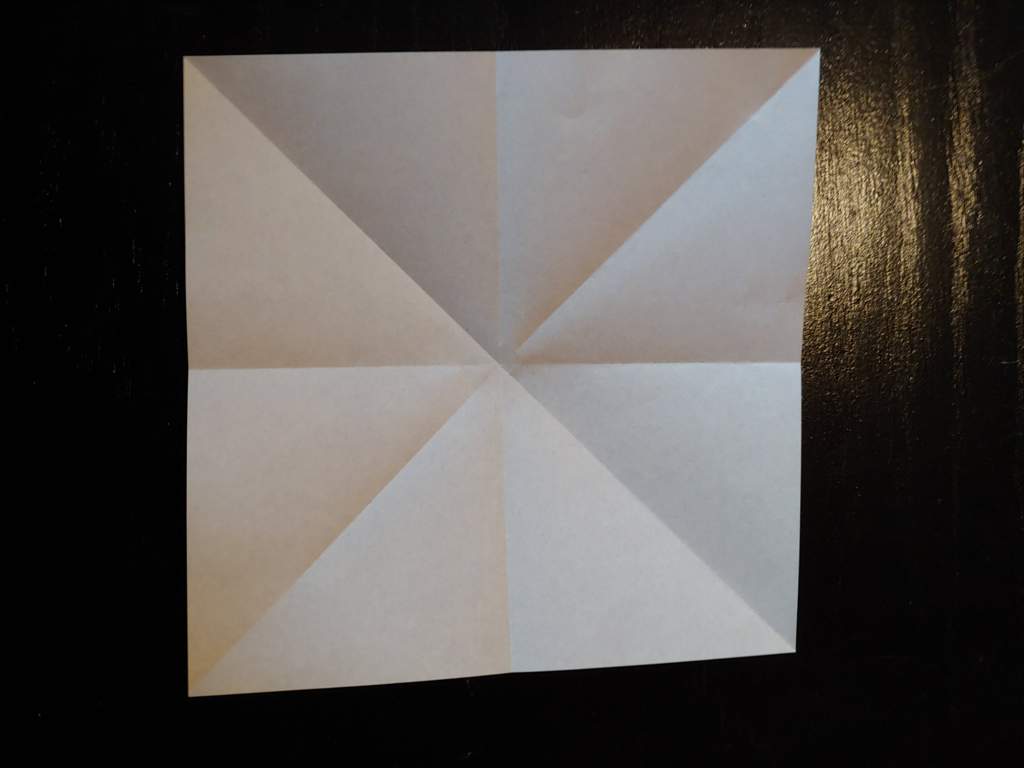
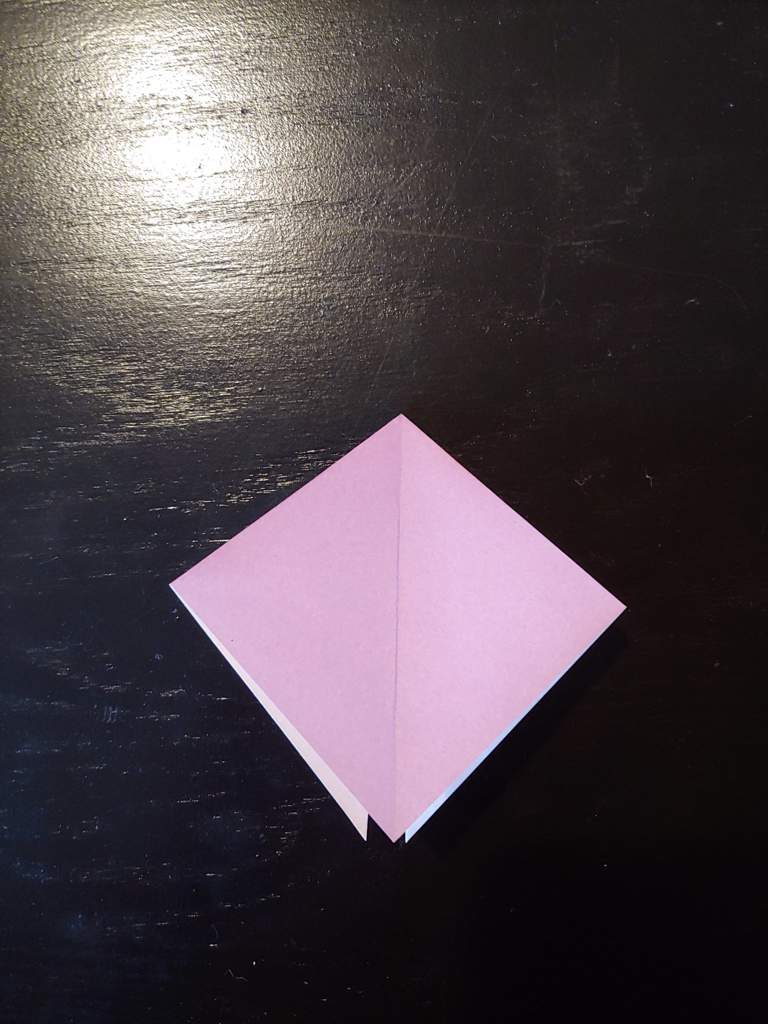
1. First, position the paper to the white side is facing up (if applicable.) Next, fold the paper in half vertically, then unfold. Do the same horizontally and unfold. Next, fold in half along both diagonals, unfolding each time. This should be the result:
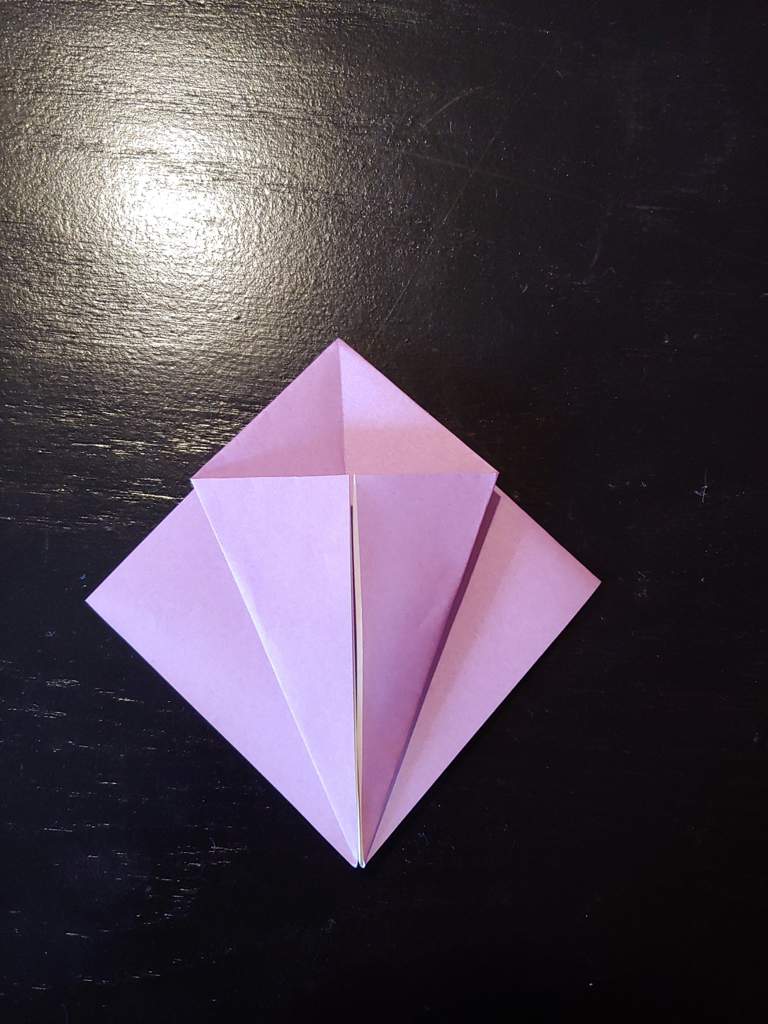
2. This part can be a bit tricky for beginners. Turn the paper so one corner is facing you, sheet white side up. Now you collapse the paper in on itself, using the lines from the previous folds. This is a lot easier to show than to describe, so follow the process below.
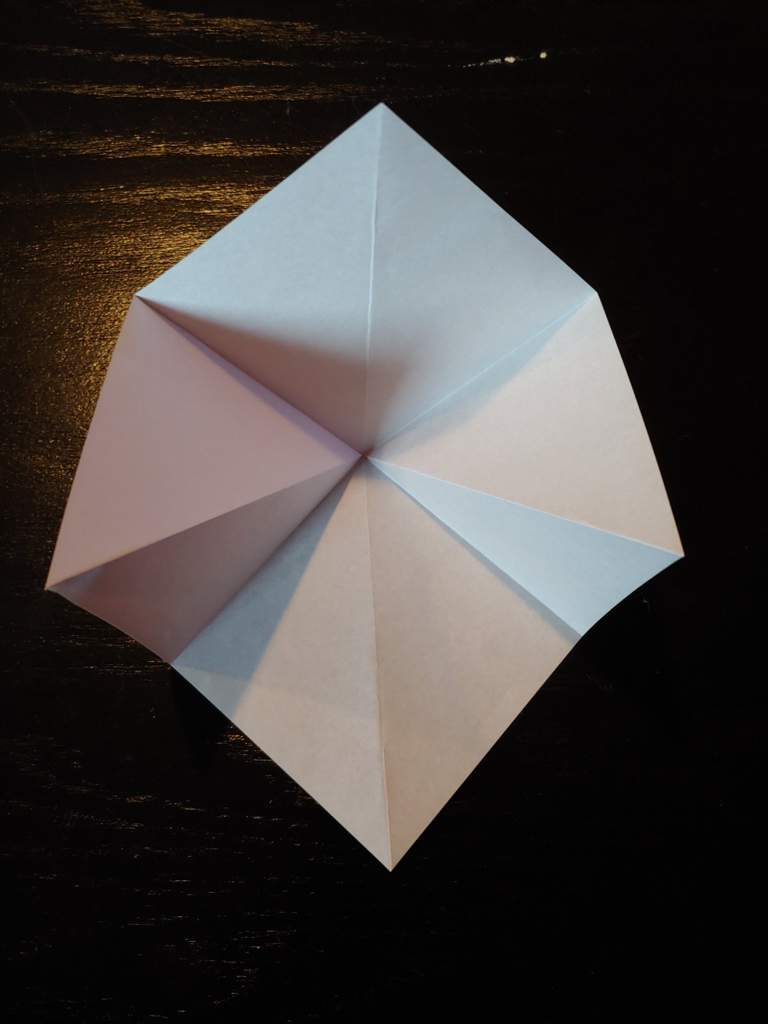
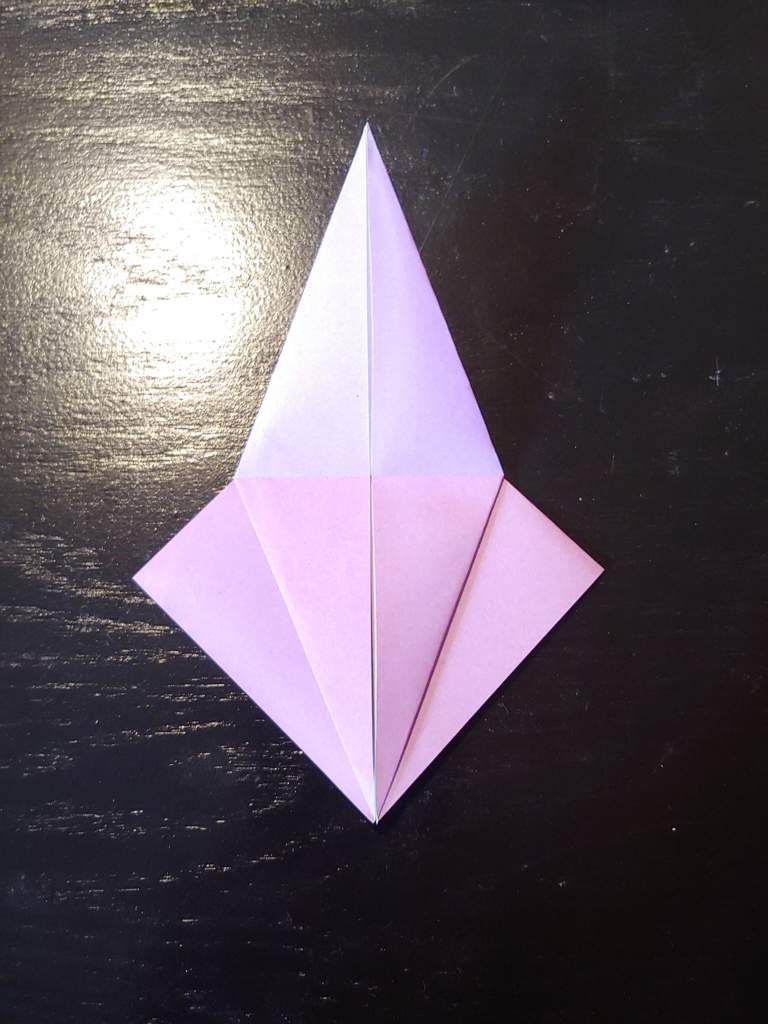
3. You should have a finished preliminary base. Next, fold the bottom edges of the two front flaps so they touch the center line on the front. Unfold.
4. Fold down the top corner on the points produced by the last step. Unfold.
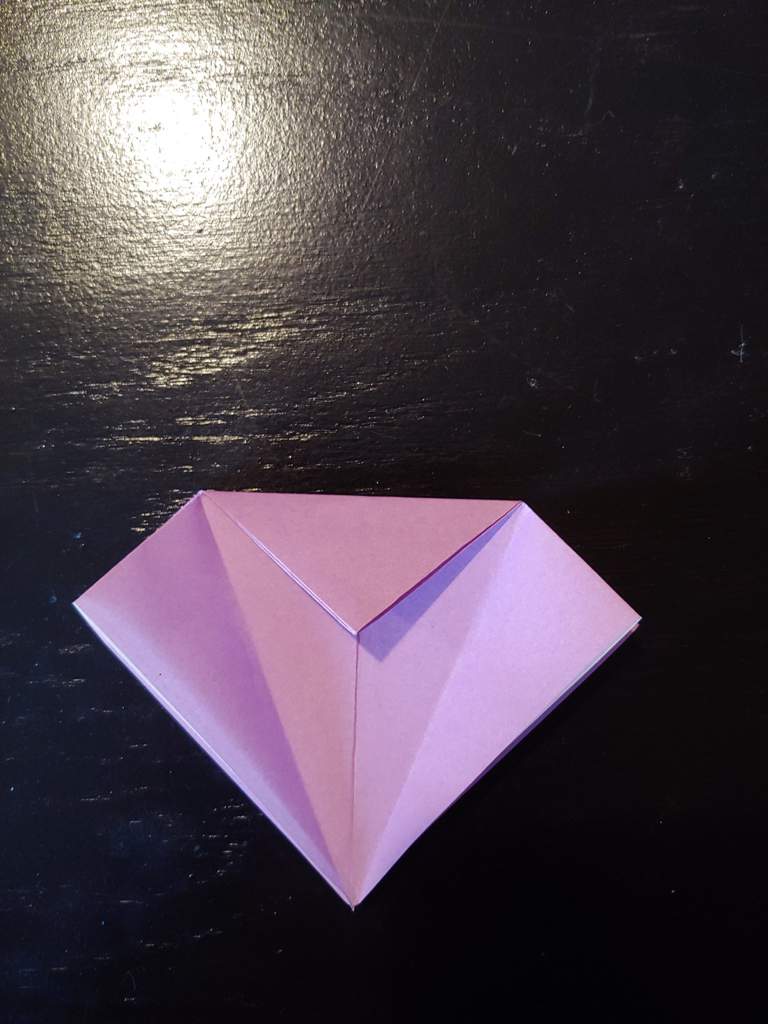
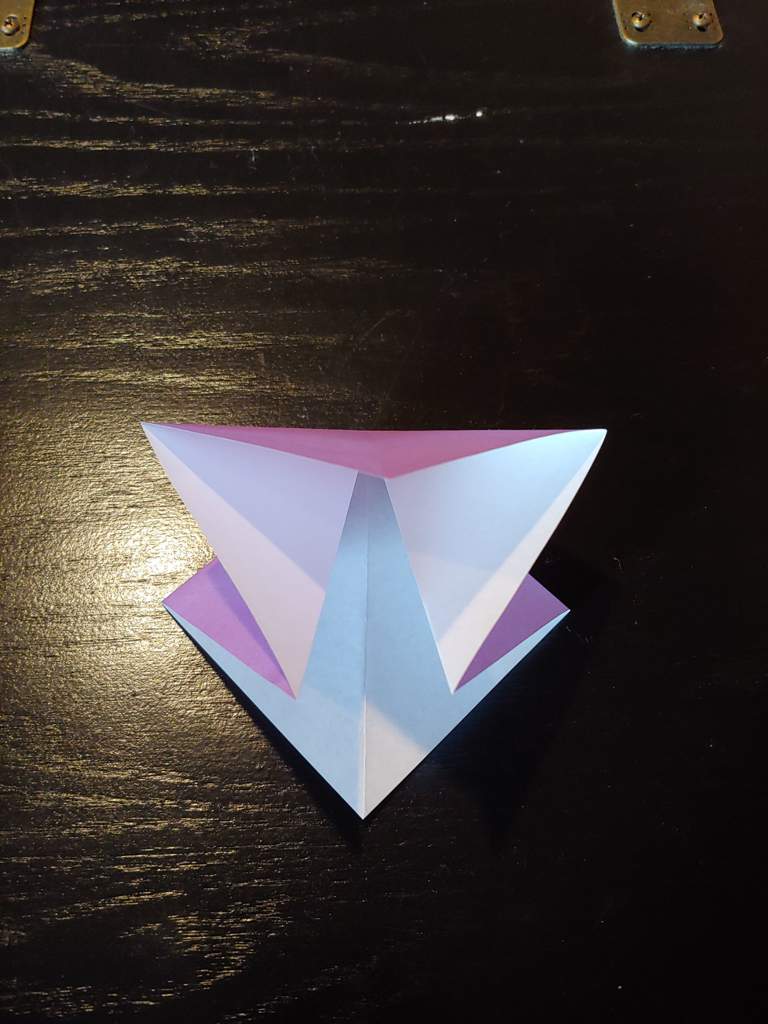
5. This is another difficult step. Fold up the top layer on the line formed in the last step. Fold the paper inside on the creases from step three. This is called a petal fold. It should look like this when you are finished:
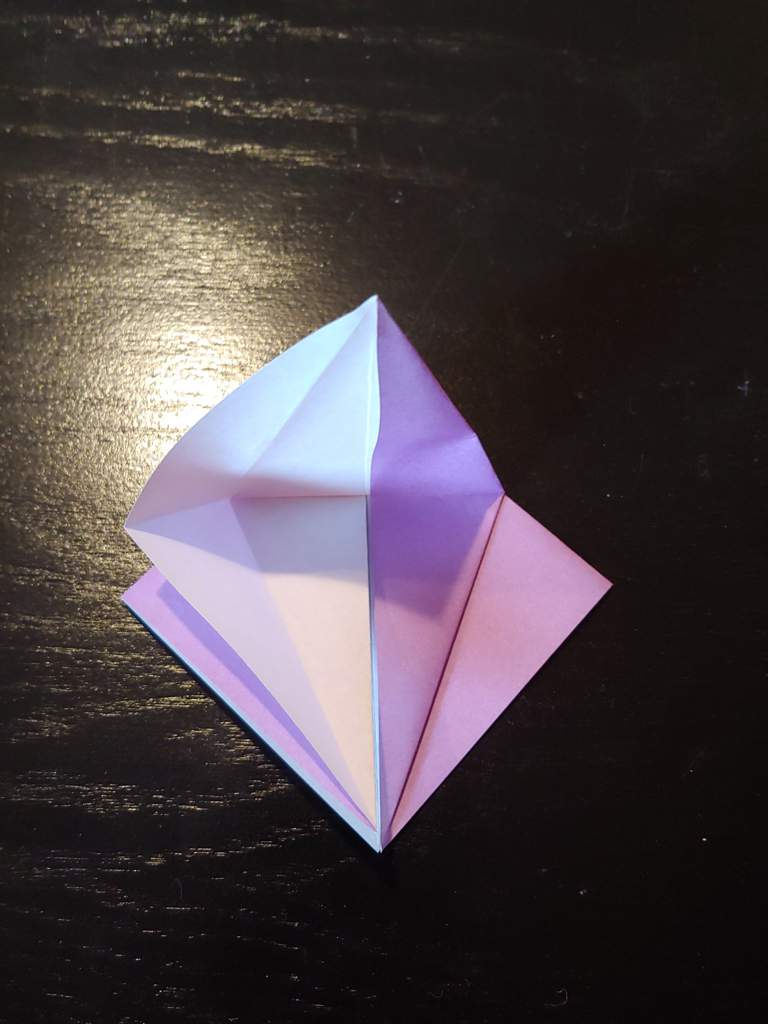
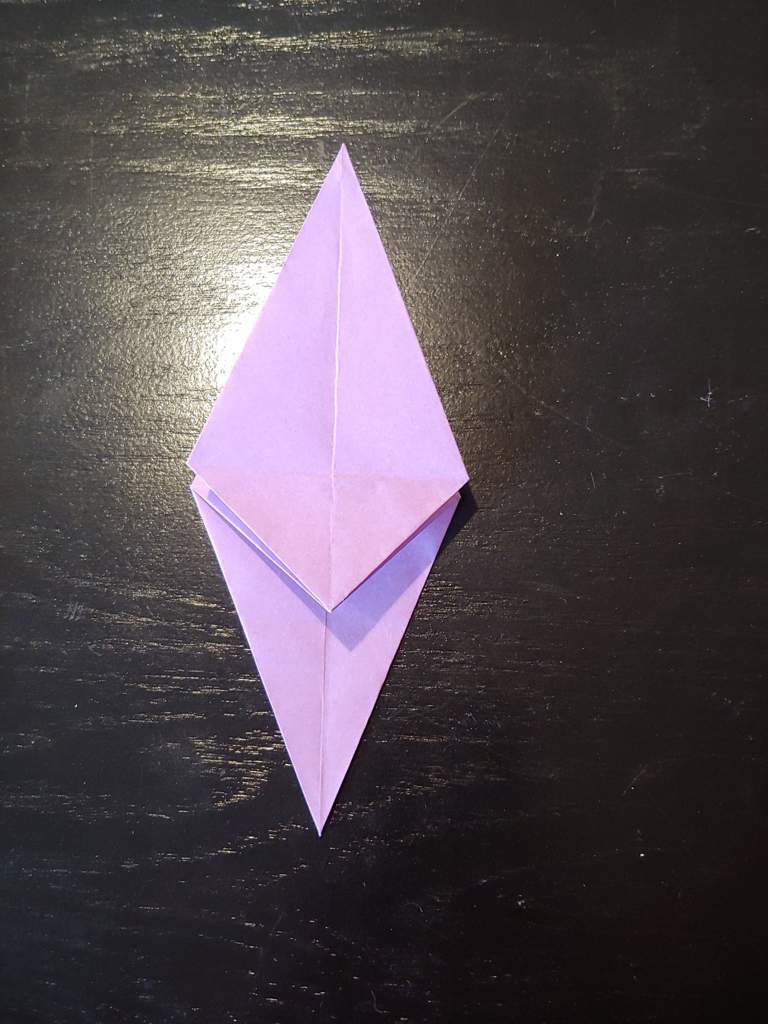
6. Fold the top flap down, and repeat the previous three steps on the back. You have a finished bird base.

7. Rotate the model 180° and fold the bottom flap towards you.
8. Fold the top flap so one edge is parallel to the crease formed during step five. Unfold.

9. Repeat step nine but with the opposite side of the top flap. Unfold.

10. You will now perform a rabbit ear fold. Collapse the top flap on the creases you just made. This should result:

11. Fold this new triangle flat against the model. It should be parallel to the crease from step five.

12. Fold and crease the triangle at the halfway point. Unfold.

13. Fold the bottom edge of the triangle against this crease. Unfold.

14. Straighten this triangle so it is perpendicular to the bottom flap. Flatten the tip of the triangle by folding on the creases from the last step.

15. Fold the tip into itself. You have a finished bridge.

16. Unfold the bridge and fold it in half to the left to reveal the right-middle flap. This will become a thruster. There are no guide folds for the thrusters, but make sure all folds are perpendicular to the center.

17 Fold the bridge back over, then repeat step seventeen on the left. Fold the bridge flap so it is back on top.

18. Angle the thrusters slightly outwards. Refold the bridge.


Congratulations! You have succeeded in making your very own origami Imperal Star Destroyer. More models to come this month.
#StarReview
#TeamTrandosha
How to Make a Origami Star Destroyer
Source: https://aminoapps.com/c/star-wars/page/blog/origami-star-destroyer-instructions/kKFG_u77Qb524aozBbwRYv2mZG5BXW
0 Response to "How to Make a Origami Star Destroyer"
Post a Comment